|
Additional Support Computer Systems Game Consoles |
Setting up Mac 'Mail'
Mac Mail is the built-in email client supplied with Mac OS X, and thus is probably one of the most frequently used email applications for Mac OS. It's relatively easy to setup for the first time, and the following steps will guide you through the process.
 Firstly, load the Mail application, and open the Preferences panel, which can be found by clicking on the mail toobar at the top.
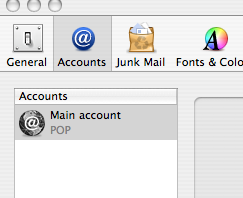
Click on the Accounts icon at the top, and you will see a list of mail accounts in the left panel (or it may be empty if you don't have any at all). Just underneath the bottom of this 'Accounts' panel are two small +/- buttons (for adding and removing mail accounts). Click on the + button to create a new mail account.

You need to tell the computer you want to create a new account of type POP and give it a brief description, for example 'Orpheus POP' - this can be what you like, and is what the computer will label this account as in the Mail program.
Next enter your full name, or at least the name you want to appear on your outgoing emails. Again, you can actually enter what you want here, to personalise your emails.
Then enter your email address. This will be the email address shown to recipients when you send them emails, so make sure you enter it correctly otherwise they may not be able to reply to your emails.
Click Continue to go onto the next step.
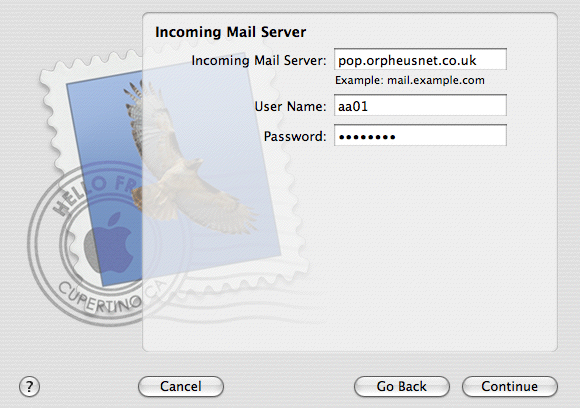
The following information is more specific so make sure you enter it correctly, otherwise the computer may not be able to fetch your email. You need to enter three pieces of information here, which will have been sent to you with your original Orpheus account details.
The Incoming Mail Server should be set to pop.orpheusnet.co.uk.
Your User Name generally consists of two or three letters followed by two numbers. This is your Orpheus account ID, referred to in your account information as the POP3 username. Enter it exactly as written on your original paperwork.
Lastly, enter your password. This is case-sensitive, so make sure you haven't accidentally pressed the 'caps lock' key by mistake. It will appear as dots on the screen (to prevent anyone looking over your shoulder and seeing what you're typing) so be careful to enter it exactly as shown on your original paperwork.
Click Continue to go onto the next step.
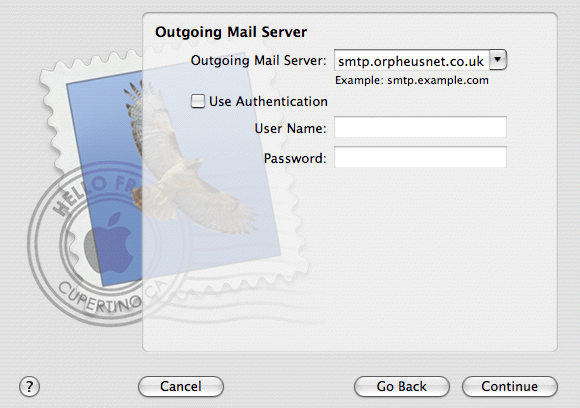
The Outgoing Mail Server should be set to smtp.orpheusnet.co.uk.
Leave the Use Authentication button unticked, as Orpheus subscribers don't need to authenticate themselves to our outgoing server. This is handled automatically by your connection to Orpheus Internet.
Leave the User Name and Password boxes empty, then click Continue to go onto the final stage.
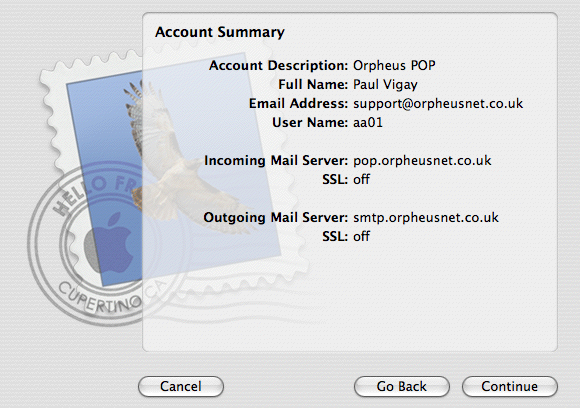
Mail will now give you a summary of all the information you've entered. Check that it is correct before clicking Continue. If you'd made any mistakes, now's the time to click Go Back and correct them.
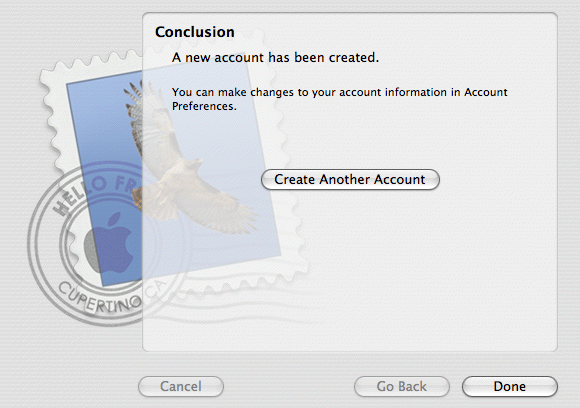
Your new account is all setup and ready to use now. Click Done to finish.
|
|