|
Additional Support Computer Systems Game Consoles |
From the PS3 XCrossMediaBar (XMB) main screen, or 'Home Menu', select Network Settings and click the ![]() button.
button.
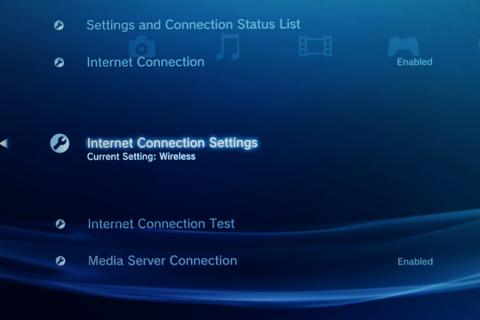
Select Internet Connection Settings and click the ![]() button again (fig.1).
button again (fig.1).
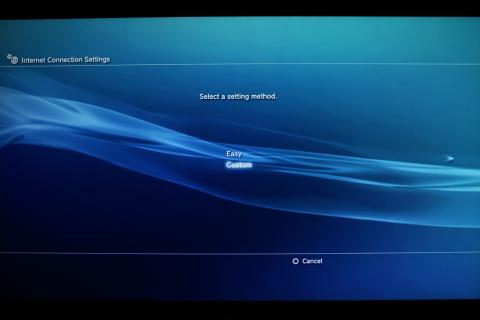
Select Custom (fig 2) and click the right button. You will now be taken through the steps for manual configuration of the internet settings. I would advise configuring things manually rather than the Easy way of letting it detect things automatically for you, because this will make configuring your firewall and/or port forwarding easier later on.
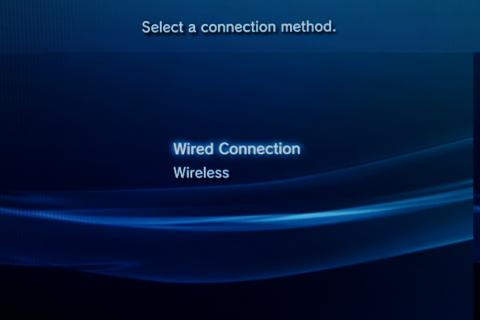
Select Wired Connection and then click the right button. (see separate instructions for connecting via wireless)
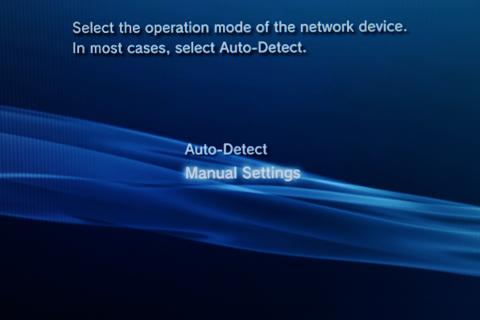
Select the operation mode of the network device. Highlight Manual Settings and click the right button to move onto the next setting.
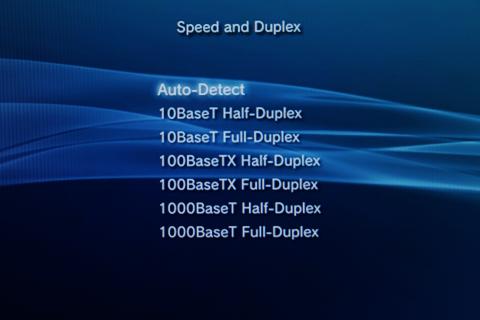
Leave the speed and duplex set to auto-detect and click the right arrow to continue.
Next comes setting the IP address. This is an important step so you probably want to be careful here. I would recommend setting it up with a fixed IP address, which is better for gaming. Highlight Manual and click right to move on.

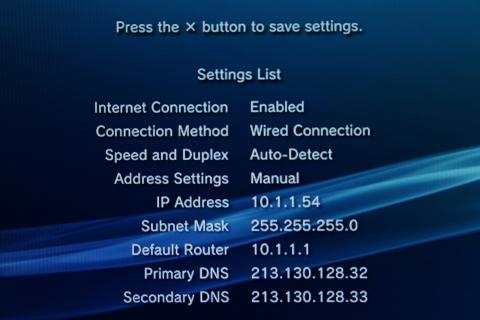
You will now see a screen from where you can manually setup your network IP addresses (see fig.7). Enter the IP address that you want to configure your PS3 on. In our example we've used 10.1.1.54 but yours should be a static IP address on your LAN network (maybe 192.168.1.x or something?). Enter the Netmask which will generally be 255.255.255.0 unless you have a different one for your own network.
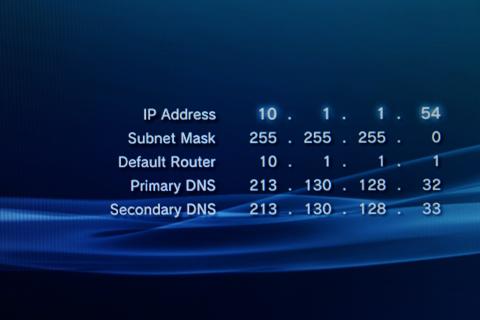
The default router should be the IP address of your broadband router or internet gateway. Then enter the domain name servers (DNS) as shown in the screenshot. For Orpheus broadband, these are 213.130.128.32 and 213.130.128.33
Click on the right button to continue.
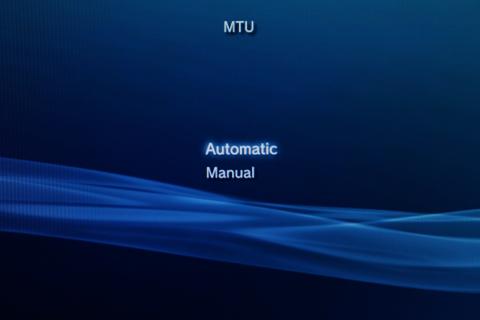
For MTU select Automatic and click right to continue.
For Proxy Server select Do Not Use and click right to continue.

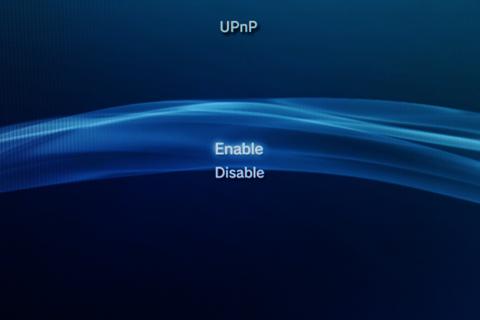
For UPnP select Enable (fig.5). Some routers don't support 'Universal Plug and Play', in which case the PS3 should ignore it anyway. Click right to continue.
You'll now be shown a list of all the settings you've chosen. If everything is correct press the ![]() button to save the settings.
button to save the settings.
Save completed! Now click on Test Connection to make your PS3 perform a network test to see if everything is working ok. If all is well you should see figure 12.
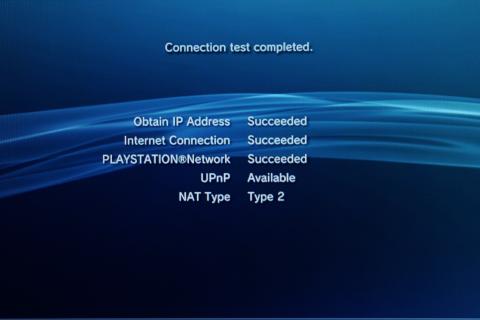
The test should indicate that you have NAT Type 2 which means that online services should all work. If so, you're done!
Your PS3 should now be configured for going online, accessing the Sony Shop and joining your favourite online games.
You may encounter a problem when testing connection to the Playstation Network, resulting in a DNS error (code 80710102). This is generally caused by the firewall in your router blocking certain ports which are required for the PS3 (see fig.13)
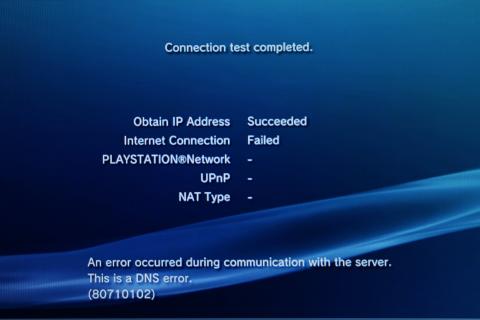
If you get this error, use your PC to examine your router firewall settings and ensure that UDP destination ports 3478 and 3479 are open. These ports are known as "STUN" and are required in order to connect to the Playstation Network.
|
|